
Sublimation on Dark Jerseys: What Actually Works
Standard sublimation won’t show up on dark jerseys because sublimation inks are transparent by nature. Direct-to-garment sublimation on black, navy, or dark green fabric produces faint, washed-out color at best. You have real options, though: white-base HTV, coatings, patches, DTF, or professional cut-and-sew sublimation. Each comes with its own trade-off in cost, feel, and durability, and picking the right one depends on whether you’re making one shirt or ordering fifty jerseys for a team.
TL;DR:
- Sublimation on dark jerseys requires special methods like white-base HTV, patches, or professional cut-and-sew, as standard sublimation dye is transparent and ineffective on dark fabrics.
- White sublimation HTV allows for creating small logos or numbers with a second heat press, but the added vinyl layer affects hand-feel and may crack after multiple washes.
- DTF (direct-to-film) and white-toner printing offer durable, full-color results on dark fabrics, with higher initial costs but better longevity and consistency for larger orders.
- Coatings and sublimation powders can chemically prepare dark fabrics for sublimation but produce inconsistent results and can negatively alter fabric feel and durability.
- Professional cut-and-sew sublimation presses fabric before garment assembly, providing the most authentic and durable dark jersey outcomes without the compromises of DIY methods.
Table of Contents
- Sublimation on Dark Jerseys: Your Options at a Glance
- Why Standard Sublimation Fails on Dark Fabrics
- Method 1: White Sublimation HTV
- Method 2: White Flock or Glitter HTV for a Different Finish
- Method 3: Coatings, Sprays, and Sublimation Powders
- Method 4: Sublimation Patches and Cut-and-Sew Production
- Method 5: DTF and White-Toner Printing
- How to Choose the Right Method for Your Project
- Getting the Settings Right: Heat, Time, and File Prep
- Washing, Durability, and Fixing Common Problems
- When Cut-and-Sew Sublimation Makes More Sense Than DIY
- The Honest Take on DIY Dark-Jersey Sublimation
- Get True Dark Jerseys Without the DIY Guesswork
- Sources
- FAQ
Sublimation on Dark Jerseys: Your Options at a Glance
Before you commit to a method, it helps to see all of them side by side. Every approach on this list solves the same core problem differently, and none of them is a universal answer.
- Cut-and-sew sublimation: fabric is printed before the jersey is assembled, giving the most authentic dark-jersey look; best for team orders where durability and appearance matter more than DIY convenience.
- Sublimation-compatible HTV: a white vinyl layer that accepts sublimation ink; good for small logos and numbers, less good for large full-color designs.
- White flock or glitter HTV: adds texture and a different finish; works well for accents but changes the hand-feel more than smooth HTV.
- Coatings and sublimation powders: spray-on or dusted treatments that create a receptive surface on cotton or dark polyester; inconsistent results across brands.
- Sublimation patches: pre-made white panels you press onto the garment; fast but limited to patch-shaped designs.
- DTF (direct-to-film) printing: a white underbase transfer method built for any fabric color; more durable than most workarounds.
- White-toner printing: laser-based white ink technology for transfer sheets; a solid alternative to DTF for smaller shops.
For a one-off gift or a single dark shirt, sublimation HTV or a patch gets you there fastest. For a small-batch shop selling regularly, DTF usually pays for itself in consistency. For a team that needs uniforms that survive a full season of washing, cut-and-sew sublimation from a supplier remains the most reliable route.
Why Standard Sublimation Fails on Dark Fabrics
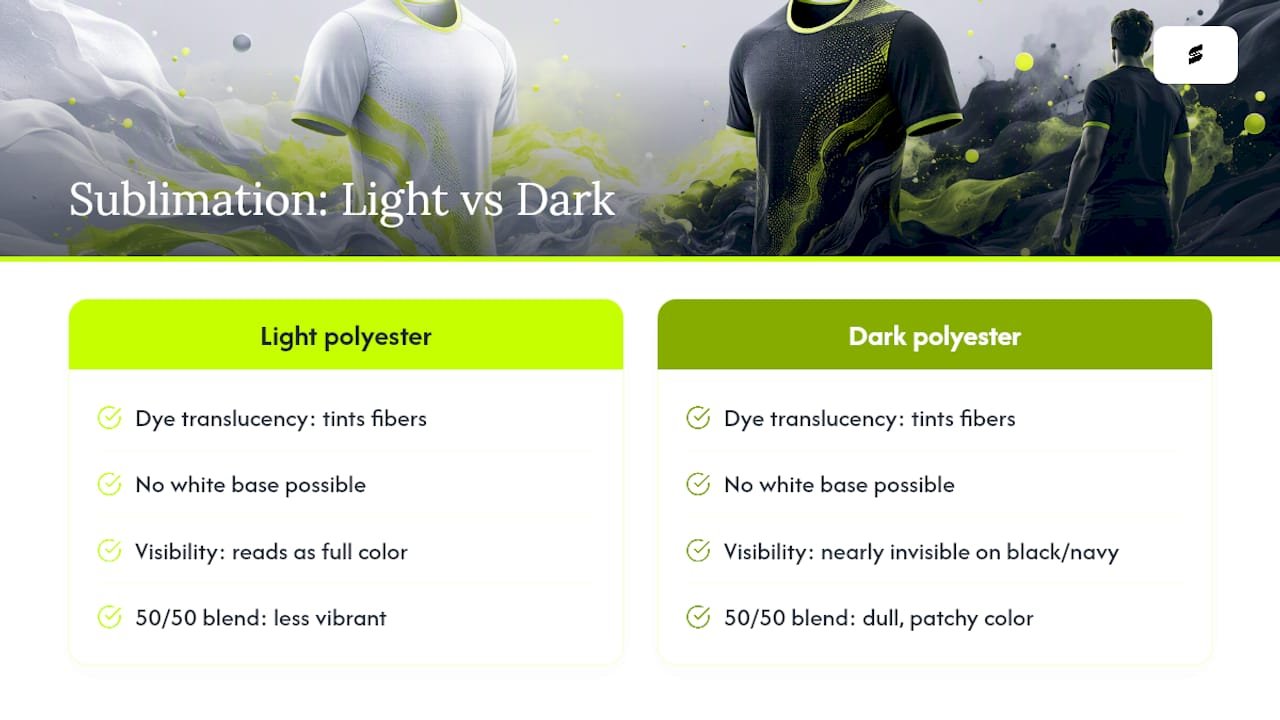
Sublimation dye is translucent. It has no pigment structure that can sit on top of a fabric and hide what’s underneath, unlike screen-printing ink or vinyl. When the dye turns to gas under heat and bonds into the fibers, it tints the fabric rather than covering it. On white or light polyester, that tint reads as full color. On black or navy, the same dye becomes nearly invisible because sublimation printing is designed for light or polyester-receptive surfaces, and the fabric’s own color simply overwhelms it.
There’s also no such thing as white sublimation ink. Every other print method, screen printing, DTF, plastisol transfers, can lay down a white base layer first. Sublimation can’t, because the process works by dyeing fiber, not depositing a physical layer of pigment. That’s the root mechanical reason dark-jersey sublimation keeps tripping up beginners: it’s not a settings problem, it’s a chemistry limitation. Sublimation guides make the same point directly: the method is built for polyester or polymer-coated substrates, and dark fabric simply isn’t compatible with how the dye behaves.
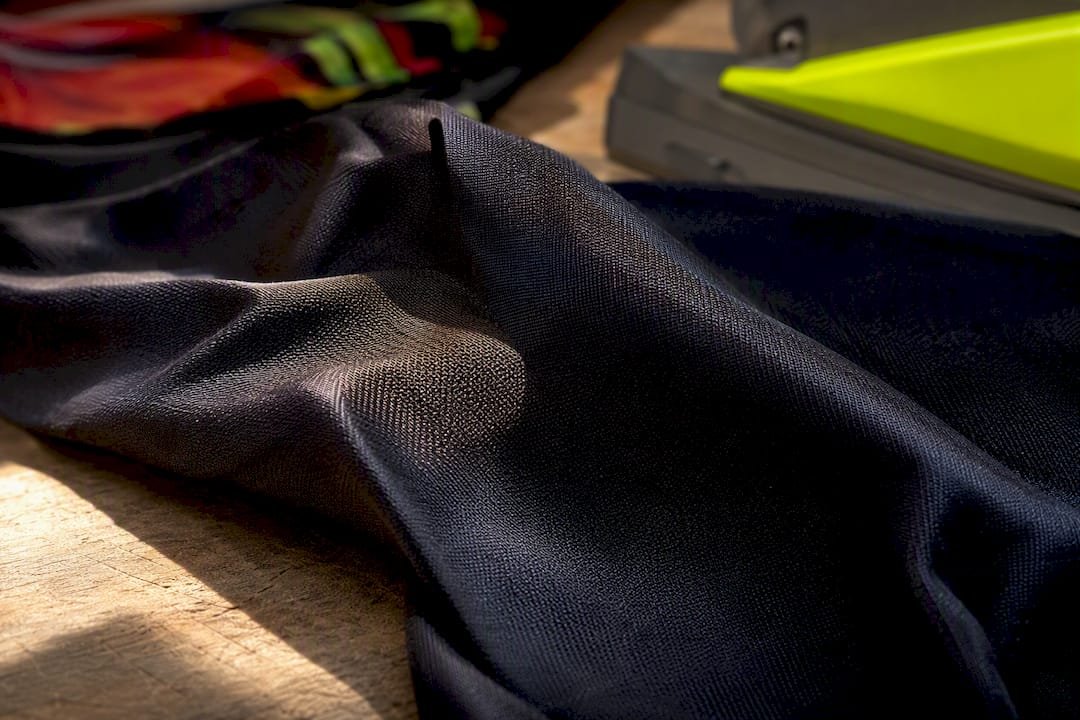
Fabric composition matters just as much as color. A 50/50 blend gives you dull, patchy color even in white. That’s why cut-and-sew sublimation, where the fabric is printed flat before the jersey is cut and stitched, produces the cleanest dark garments: the ink saturates raw polyester fabric evenly, before assembly, rather than fighting against a finished garment’s existing dye. One artifact still shows up on heavy dark solids in this process: yarn-core speckle, a faint fleck pattern visible when the fabric stretches, caused by the yarn’s undyed interior peeking through. It’s worth checking for on a stretched sample before approving any bulk order.
Method 1: White Sublimation HTV
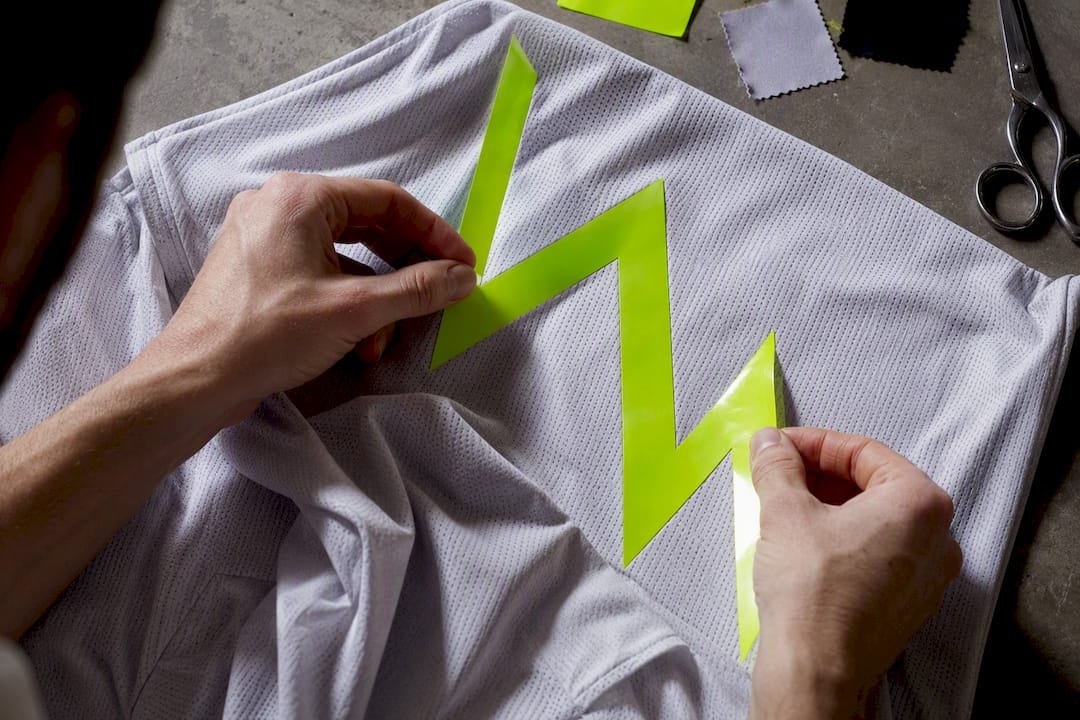
White sublimation HTV works by giving you an actual white, polyester-based surface to sublimate onto. You cut and press the vinyl onto the dark garment first, then sublimate your design onto that vinyl surface. Guides that test this method confirm it’s currently one of the most dependable DIY workarounds for logos, text, and numbers, though it comes with real limits on scale and feel.
Here’s the actual workflow:
- Design your artwork and mirror it if your process calls for it, then print onto sublimation paper using a sublimation printer.
- Cut your white sublimation HTV to the shape and size you need, then weed away the excess vinyl.
- Press the HTV onto the dark jersey first, following the manufacturer’s time and temperature settings for that vinyl (this step bonds the vinyl to the shirt, no sublimation paper involved yet).
- Let the HTV cool, then place your printed sublimation paper face-down on top of the vinyl.
- Press again with a heat press, using a protective sheet above and below, at your sublimation ink’s recommended settings, typically in the 380 to 420°F range.
- Peel the paper while still warm, following the paper manufacturer’s peel-timing instructions.
Getting the two presses to line up is the real skill here. Crafters who work with this method regularly note that alignment and press sequencing are the main technical hurdles, not the sublimation step itself, since a misregistered second press ruins an otherwise clean design, based on workflow breakdowns from Silhouette School’s HTV tutorials.
Pro Tip: Do a test press on a scrap swatch of the same fabric before committing to your actual jersey. HTV bonds differently depending on the exact polyester blend, and a failed test costs you a scrap, not a $30 jersey.
The trade-off is hand-feel. You’re adding a vinyl layer on top of fabric, so the printed area feels stiffer and slightly raised compared to true sublimation. Edges can lift after repeated washing, and fine detail or large gradient designs tend to crack at stress points like elbows or underarms. This method suits small, contained graphics, team numbers, sponsor logos, small crests, far better than full-front designs.
If you run into ghosting (a faint double image), it’s almost always either paper shifting during the second press or excess moisture in the vinyl from insufficient press time on step 3. Adhesion failures after a few washes usually trace back to under-pressing rather than under-heating. Check pressure before you touch the temperature dial.
Method 2: White Flock or Glitter HTV for a Different Finish
Flock and glitter HTV work on the same principle as smooth white sublimation vinyl, they present a polyester-friendly surface, but the fiber structure is different. Flock has a raised, fuzzy texture made of tiny poly fibers standing on end. Glitter HTV embeds reflective poly particles in a polymer base. Both surfaces accept sublimation dye because they’re polyester at the surface level, even though neither looks or feels anything like standard smooth vinyl.
The workflow mirrors the smooth-HTV method: press the flock or glitter vinyl onto the dark jersey first, let it cool, then sublimate your design onto that surface with a second press. Alignment is actually a bit more forgiving here because texture hides minor registration drift better than a flat white surface would.
- Flock gives a soft, almost velvet-like finish that reads well for mascot logos or vintage-style lettering.
- Glitter HTV adds shine and works nicely for cheer uniforms, dance team gear, or anything meant to catch light.
- Neither option is a good match for photo-realistic or gradient-heavy designs, since texture breaks up fine detail.
- Durability runs close to standard sublimation HTV: expect some edge wear after heavy washing, though the raised texture on flock can mask minor fraying longer than smooth vinyl does.
Use flock or glitter when the textured look is the point, not just a workaround. If you want your dark jersey design to read as flat and printed rather than textured, stick with smooth white sublimation HTV instead.
Method 3: Coatings, Sprays, and Sublimation Powders
Coating sprays and sublimation powders take a different approach: instead of adding a vinyl layer, they chemically treat the fabric surface so it can accept sublimation dye directly. The coating creates a thin polymer film on cotton or dark fabric fibers, giving the dye something polyester-like to bond with. Results vary considerably by brand and by how evenly you apply the product, and durability tends to lag behind DTF and vinyl-based methods according to comparative testing of dark-shirt sublimation techniques.
The basic process looks like this:
- Spray or apply the coating evenly across the area you plan to print, working in thin, consistent layers rather than one heavy coat.
- Let the coating air-dry fully, or heat-set it per the product’s instructions, before moving to the press.
- Press your sublimation transfer onto the treated area using standard sublimation settings and time.
- Peel and allow the shirt to cool completely before handling or folding.
Pro Tip: Run a small test patch on an inside seam or offcut fabric and put it through five wash cycles before committing to a full shirt. Coating performance genuinely differs enough between brands that what works on one product can flake or yellow on another.
Hand-feel takes the biggest hit with this method. A heavy coating can leave the fabric noticeably stiffer than the surrounding untreated area, and washing tends to dull the color faster than vinyl or DTF because the polymer film itself degrades with repeated laundering. Ventilation matters during application, most sprays carry standard aerosol handling warnings, so work in a well-ventilated space and avoid inhaling the mist directly.
Because outcomes swing so much between products, treat coatings as an experimental tool rather than a production method. They’re worth trying for a single project or a test run, but building a small business around inconsistent brand-to-brand results is a rough foundation. A practical test protocol, a small treated sample pushed through five to ten wash cycles, catches the majority of adhesion and fading problems before you commit fabric and ink to a bigger batch.
Method 4: Sublimation Patches and Cut-and-Sew Production
Pre-made sublimation patches solve a narrower version of the same problem. These are small, pre-printed white polyester panels, already sublimated with full color, that you press directly onto the dark garment like a badge. Because the patch itself was sublimated onto true white or light polyester before it ever touched the dark shirt, the color comes out vibrant with none of the two-press alignment risk of DIY HTV work.
- Patches work best for team crests, mascots, and contained logos rather than full-garment designs.
- Application is a single heat press step, faster and less error-prone than the layered HTV method.
- Edges can be finished (sealed, rounded) to reduce peeling, though visible patch borders are part of the aesthetic either way.
For anything beyond a patch-sized graphic, cut-and-sew sublimation is the professional route. Fabric is printed with the full design first, as flat polyester yardage, then cut into pattern pieces and assembled into the finished jersey. Because the dye saturates the fabric before any sewing happens, there’s no vinyl layer, no coating, and no visible edge where a decoration meets the base garment. It looks and feels exactly like a pro uniform, because it is built the same way.
- If you’re outsourcing a run, ask for a stretched sample before approving bulk production; stretching reveals yarn-core speckle on dark solid colors that a flat swatch won’t show.
- Request the actual fabric weight and polyester percentage in writing, since blends below roughly 65% polyester compromise color saturation even in professional printing.
- Confirm turnaround time and minimum order quantity before signing off, since production terms vary widely between suppliers.
This is the point where DIY methods and professional production genuinely diverge. A patch or HTV job can look great on a single shirt. Getting that same quality across twenty identical team jerseys, with matching color, consistent placement, and washable durability, is a production problem, not a craft problem.
Method 5: DTF and White-Toner Printing
DTF (direct-to-film) printing solves the dark-fabric problem the way sublimation can’t: it prints a white underbase directly onto film, then transfers that white layer plus your full-color design onto any fabric color using heat and adhesive powder. Because the white base sits underneath the color layer, DTF works identically well on black, navy, or heather gray, and it’s generally more durable and more reliable than coating sprays or HTV workarounds for exactly that reason.
White-toner printing takes a related approach using laser-based printers built to lay down white toner as an underbase on transfer paper, then pressed onto the garment. It’s a solid choice for smaller operations that want DTF-level results without investing in a full DTF film printer and powder system.
- DTF equipment runs from a few thousand dollars for an entry-level printer setup up to significantly more for production-grade systems, plus ongoing costs for film, powder, and white ink.
- White-toner printers cost more upfront than a standard inkjet but less than most DTF systems, with transfer paper as the main ongoing consumable.
- Durability for both methods holds up well across many wash cycles when pressed correctly, generally outperforming coating sprays and matching or beating standard HTV.
- Hand-feel sits between vinyl and true sublimation: DTF and white-toner transfers have a slight texture, less than thick vinyl, more than dyed fabric.
- Recommended threshold: if you’re printing more than a couple dozen dark-fabric pieces a month, DTF or white-toner equipment usually pays for itself faster than repeatedly buying coating sprays or vinyl for each job.
For sellers doing steady volume rather than occasional gifts, this is where the math tips away from workarounds and toward dedicated equipment.
How to Choose the Right Method for Your Project
Match your goal to the method before you buy anything. A single birthday shirt doesn’t need the same solution as fifty team jerseys.
- One-off gift or personal project: sublimation HTV or a pre-made patch gets you a finished product fastest with the least equipment investment.
- Small-batch seller doing regular dark-garment orders: DTF or white-toner printing pays off in consistency and durability once you’re past occasional use.
- Team or league uniform order: cut-and-sew sublimation from a production partner is the only method that reliably matches across a full roster without visible seams or coating inconsistencies.
Rank your priorities before picking a method, since no single option wins on every axis:
- Durability first: DTF, white-toner, or cut-and-sew sublimation, in roughly that order of accessibility.
- Look and authenticity first: cut-and-sew sublimation, hands down, since there’s no added layer to see or feel.
- Hand-feel first: cut-and-sew sublimation again, followed by DTF; HTV and coatings both add noticeable texture.
- Budget first: sublimation HTV or patches, since they require the least new equipment.
- Speed first: patches or HTV for small runs; DTF once you already own the setup.
Whatever you land on, don’t skip the validation step. Press a test piece, wash it five to ten times under normal laundering conditions, and inspect for cracking, fading, or lifted edges before you commit to a full production run. That single habit catches the majority of failures that would otherwise show up after a customer or a team has already paid for the finished jerseys.
Getting the Settings Right: Heat, Time, and File Prep
Most sublimation failures trace back to press settings or file prep, not the method itself. Get these right and everything above works better.
For standard polyester sublimation, industry brochures generally recommend a range of 380 to 420°F (195 to 215°C), with press times typically between 30 and 60 seconds depending on your specific printer, paper, and blank. HTV steps run at different settings entirely, follow the vinyl manufacturer’s own time and temperature chart since white sublimation HTV, flock, and glitter HTV each bond at different points. DTF transfers have their own separate cure and press profile, usually specified by the film and powder manufacturer, so treat that as a distinct step rather than assuming sublimation settings apply.
File prep matters just as much as press settings:
- Mirror your image before printing if your workflow requires it (check whether your specific printer or software already handles this automatically).
- Design and export in CMYK rather than RGB when your printer supports it, since sublimation printers render colors more accurately from CMYK profiles.
- Use sublimation paper rated for your ink and printer combination; off-brand paper is a common source of muddy or shifted color.
- Confirm your artwork resolution is high enough to avoid pixelation once scaled to jersey size, generally 300 DPI at final print dimensions.
Pro Tip: Always do a “dry run” pre-press on your blank garment, five seconds with no paper, just heat and pressure, to flatten wrinkles and pull out surface moisture before your actual transfer. Skipping this step is one of the most common causes of uneven color and ghosting.
Peel timing depends on your paper brand, some peel hot, others require full cooling first, so check the manufacturer’s instructions rather than guessing. Overpressing (too much time, too much heat) tends to scorch fabric or over-saturate color into a muddy result, while underpressing leaves patchy, faded transfers. Split the difference by testing on scrap fabric first, every time you switch paper, ink, or blank supplier.
Washing, Durability, and Fixing Common Problems
Longevity depends entirely on which method you used, and expectations should match the method. HTV-based dark-jersey prints typically hold up through dozens of gentle wash cycles before edges start to lift, especially if you wash inside-out in cold water and skip the dryer’s high-heat setting. Coating-treated fabric tends to fade faster, often showing visible dulling within the first ten to fifteen washes, since the polymer film itself breaks down with repeated laundering. DTF and cut-and-sew sublimation both hold color and texture longer under normal washing conditions, which is exactly why professional production leans on one of those two methods for anything durability-sensitive.
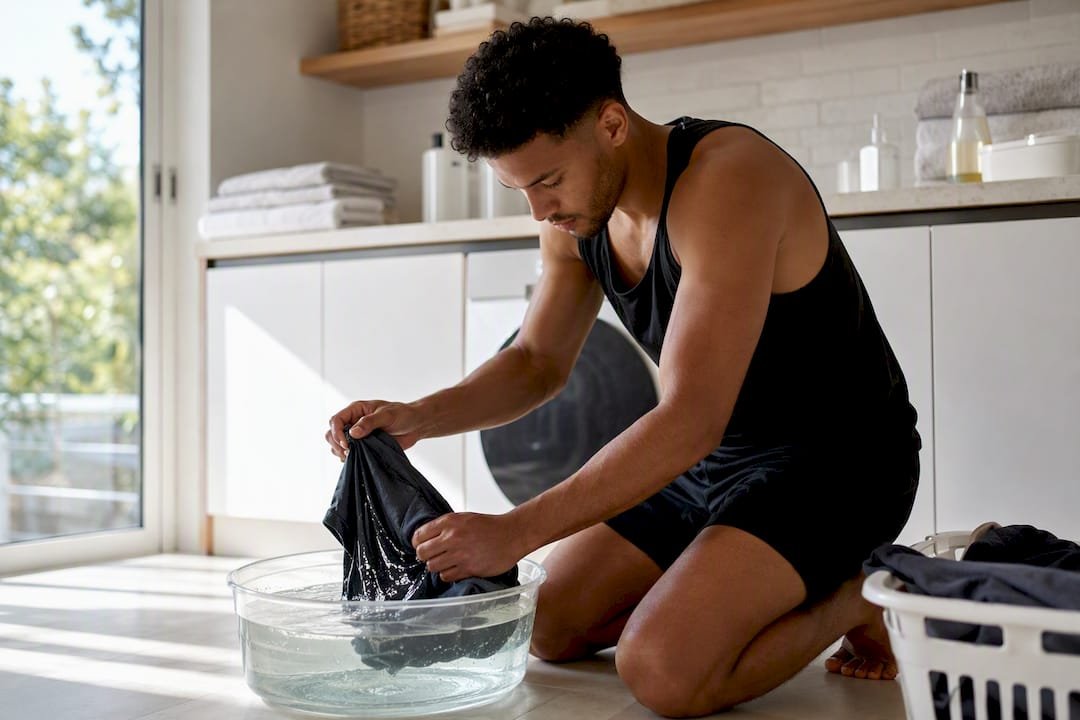
A practical test protocol, a small sample pushed through five to ten wash cycles, catches most of what would otherwise go wrong on a full run before you commit fabric and time to it.
Common failures and their likely causes:
- Cracking at edges or stress points: usually under-pressing during application, or a design that’s too large for a vinyl-based method to handle.
- Color fading fast: often a coating-based method breaking down, or washing in hot water when cold was specified.
- Ghosting or blurred lines: typically shifted paper during the press, or excess moisture trapped under vinyl.
- Patches or HTV lifting at corners: insufficient press time or pressure on the initial bond, not a washing problem.
Set realistic expectations up front. A DIY dark-jersey shirt made with HTV or a coating is a great solution for a single event, a gift, or a small test batch. Once you’re talking about a full team roster that needs to look identical and survive a season of games and washes, that’s the point to bring in a production partner running true cut-and-sew sublimation rather than stacking DIY workarounds.
When Cut-and-Sew Sublimation Makes More Sense Than DIY
Every workaround in this guide has a ceiling. HTV cracks at scale. Coatings vary by brand. Patches only cover small graphics. At some point, usually right around “I need this to look identical across fifteen jerseys and survive a full season,” DIY methods stop being the efficient choice.
Capra Sports builds jerseys the way cut-and-sew production is supposed to work: fabric printed before assembly, so there’s no vinyl layer, no coating, and no visible seam between decoration and garment. Orders come with a free 24-hour design mockup and a free sizing sample before you commit to a full run, which matters directly for the yarn-core speckle and stretch issues covered earlier, since you can check a physical sample under real stretch conditions before fifty jerseys ship. Team orders start at 10 sets, so a single team can order without hitting a bulk-purchase wall.
Ordering tips worth following regardless of which supplier you use: always request a stretched sample rather than a flat swatch, ask specifically about seam-stretch risk on solid dark colors, and confirm your design goes through a real revision process with a designer rather than a one-shot approval. For background on how the underlying technology holds up over time, Capra’s guide to sublimation printing breaks down why the process bonds so well to polyester in the first place, and the step-by-step uniform design guide is worth reading before you send over artwork.
The Honest Take on DIY Dark-Jersey Sublimation
Most guides on this topic oversell the workarounds. HTV and coatings get treated like permanent fixes when they’re really stopgaps, decent for a single shirt, shaky the moment you scale to a real order. The research is pretty consistent on this point: durability and consistency both drop the further you get from true printed fabric, whether that’s cut-and-sew sublimation or a properly executed DTF transfer.
Where I think the conventional advice actually misleads people is the framing that any of these workarounds is a “solution” rather than a compromise. They’re not inferior for lack of effort, they’re mechanically limited by what a vinyl layer or a coating spray can do on top of fabric that was never designed to be sublimated. That’s fine for a gift or a prototype. It’s a real liability for a team uniform that needs to survive a season of washing and still look like a matched set on game day.
If you’re testing an idea, start with HTV or a patch. If you’re outfitting a roster, skip straight to a wash-tested, stretched-sample-approved production run. The gap between those two outcomes is bigger than most tutorials let on.
— Agha
Get True Dark Jerseys Without the DIY Guesswork
Every method covered here, HTV, coatings, patches, DTF, comes with a real trade-off between cost, feel, and how long the print survives. Capra Sports skips those compromises entirely by printing fabric before the jersey is even cut, so dark colors, logos, and numbers come out as true, permanent color instead of a layered workaround.
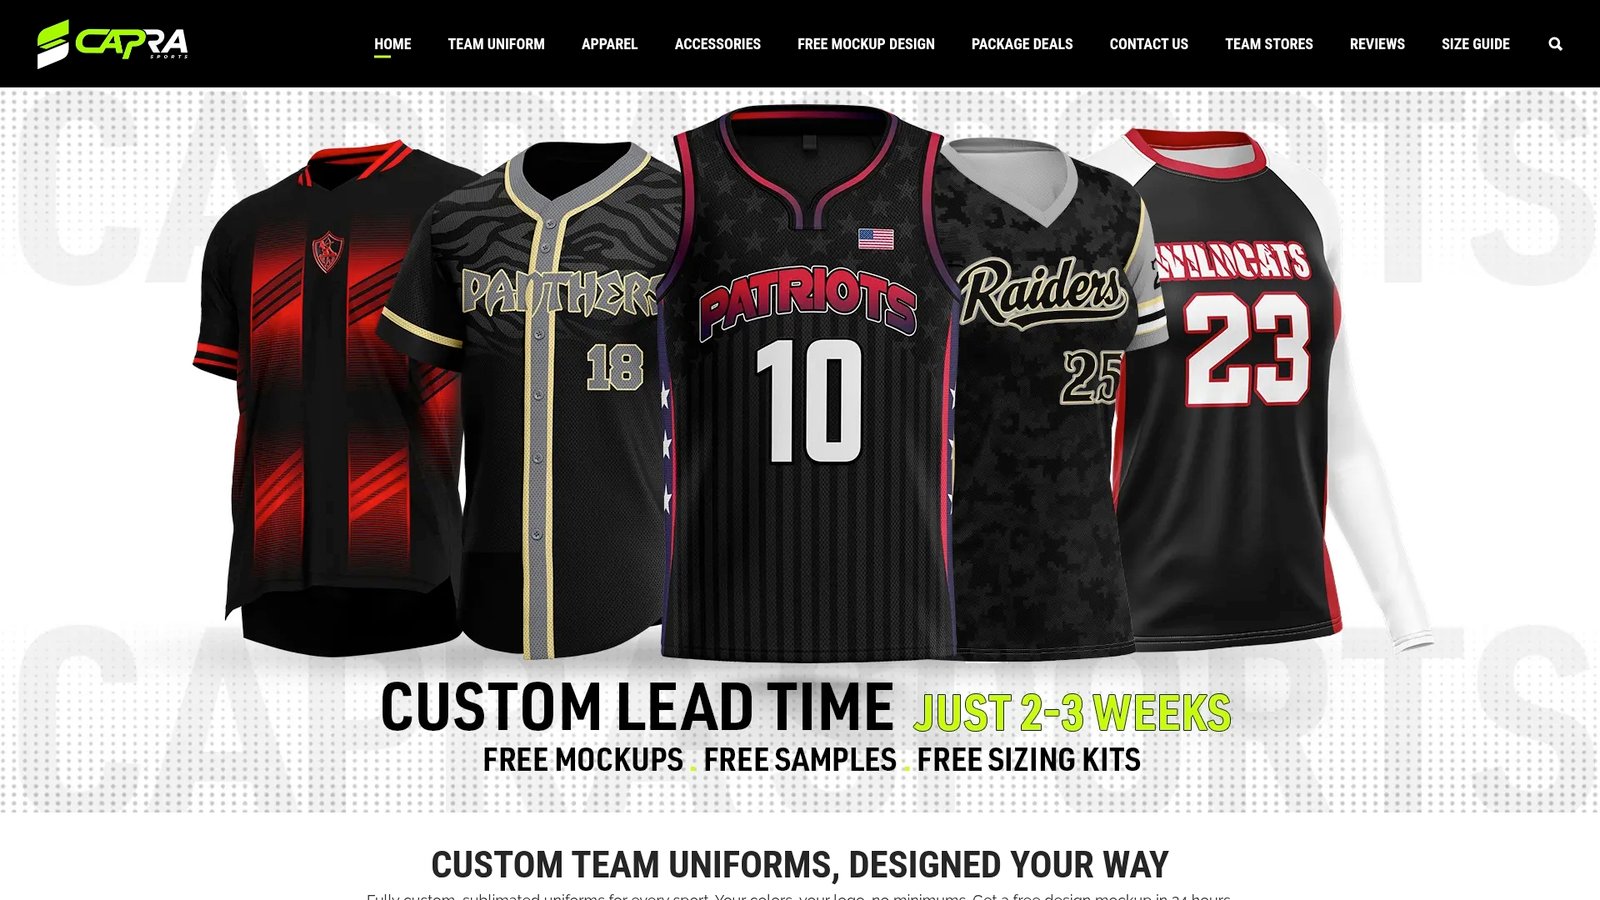
You get a free design mockup before you commit to anything, plus a free sizing sample so you can check stretch and color firsthand, and a 10-set team minimum that never forces you into a bigger buy than your team needs. If your team needs dark jerseys that hold up through a full season of washing and games, request a free mockup and see exactly what your design looks like on real fabric before you spend a dollar.
Next step: see what a full basketball team kit costs per player, or request a free 24-hour mockup of your design.
Sources
FAQ
Can you sublimate on dark clothing?
Not with standard direct sublimation. Sublimation dye is transparent, so it disappears into dark fabric, but workarounds like white HTV, patches, or professional cut-and-sew printing all produce visible, durable results on dark garments.
Does sublimation ink work on dark colors?
No, sublimation ink itself doesn’t work on dark colors because there’s no white sublimation ink to create contrast against a dark base; the dye simply blends into the existing fabric color.
Can you do sublimation on jerseys?
Yes, but only reliably on light-colored or white polyester jerseys with direct sublimation, or on dark jerseys using cut-and-sew sublimation where the fabric is printed before the jersey is assembled, which is how Capra Sports produces its dark-color uniforms.
Can you do sublimation on colored shirts?
Light and pastel colors work reasonably well with direct sublimation since the dye tints rather than covers the fabric, but saturated dark colors need a workaround like white HTV, DTF, or cut-and-sew production to show accurate color.